
How to Start Seeds Indoors
Whether you’re new to indoor gardening or have grows that are years old, knowing how to start seeds indoors is essential. Starting seeds before you transplant seedlings into pots (or an outside garden) gives your plants a head start. In turn, they’ll often grow stronger and larger, offering better yields.
In many cases, figuring out how to start seeds indoors requires a bit of trial and error. As an indoor gardener myself, I’ve experimented with a range of techniques to get seeds to sprout. I wanted to create this guide to help others fast-track their grows. Here’s what you need to know about how to start seeds indoors.
Starting seeds indoors
While there are nuances when you start seeds indoors – such as variances in the timeline based on the seed type – the general process is similar for most seeds. As a result, you can use the process below to begin your journey as you germinate your seeds. Just don’t be afraid to make slight tweaks. Additionally, review the information on your seed packets before you begin, as those often have tips that help you get a strong seedling.
With that in mind, here’s a quick overview of how to start seeds indoors.
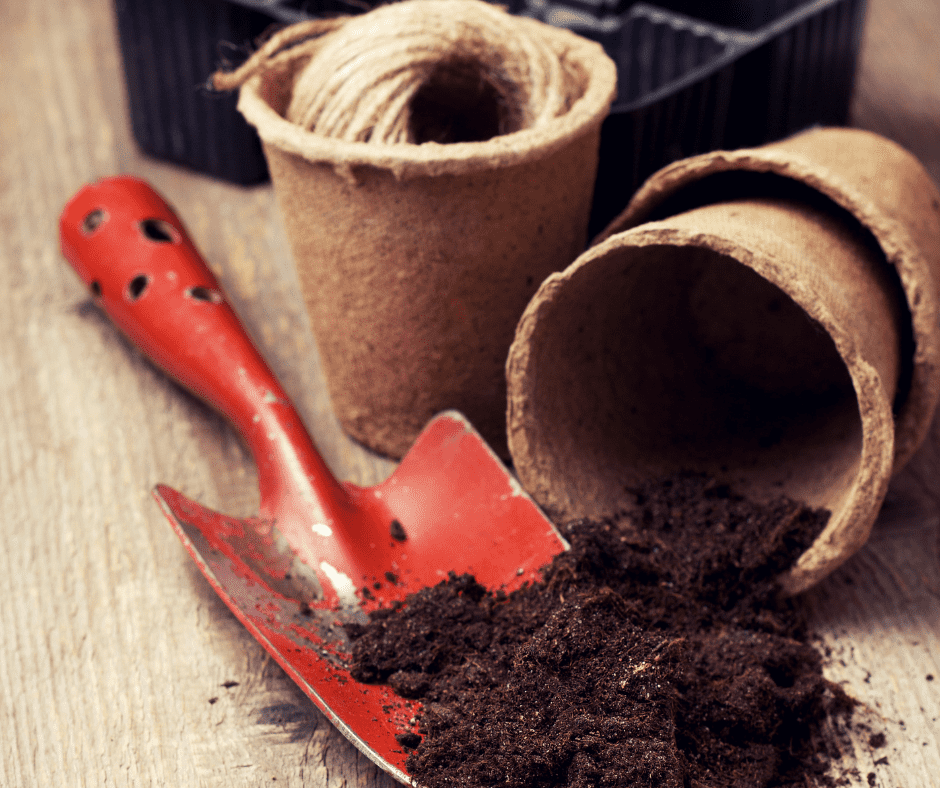
Get Your Seed Containers
When you’re starting seeds, you don’t use traditional pots. Instead, [easyazon_link identifier=”B07R9S38VX” locale=”US” tag=”ledgrowlightsinfo-20″]seed trays[/easyazon_link] are usually the easiest option or [easyazon_link identifier=”B07ZYV9C4V” locale=”US” tag=”ledgrowlightsinfo-20″]peat pots[/easyazon_link]. These seed containers are smaller and shallower, making them easier to work with in most cases. Plus, they typically come with sections, not unlike an ice cube tray. That allows you to manage each seed separately while still dealing with only a single container.
Seed trays also often come with a humidity dome or lid. However, if yours doesn’t, you can potentially use plastic wrap in its place.
Additionally, seed trays are drilled with drainage holes. Those prevent excess water from soaking your seeds, leading to better results.
Choose the Right Seed Starting Mix
When you’re preparing to start seeds, you need the right seed starting mix. Seed starting mix works well for a variety of seeds, and it’s particularly well-suited if you have smaller seeds you need to germinate. It doesn’t contain organic materials –unnecessary for seeds – so it’s less prone to issues like fungus or mold.
Sometimes, you can use a more traditional potting mix instead of seed starting mixes. Check the seed packet for information about what the manufacturer recommends.
Before you add any soil to your containers, take a moment to dampen and loosen the potting mix or seed starting mix a bit. This keeps the moisture levels consistent and avoids clumps.
Fill the Seed Trays
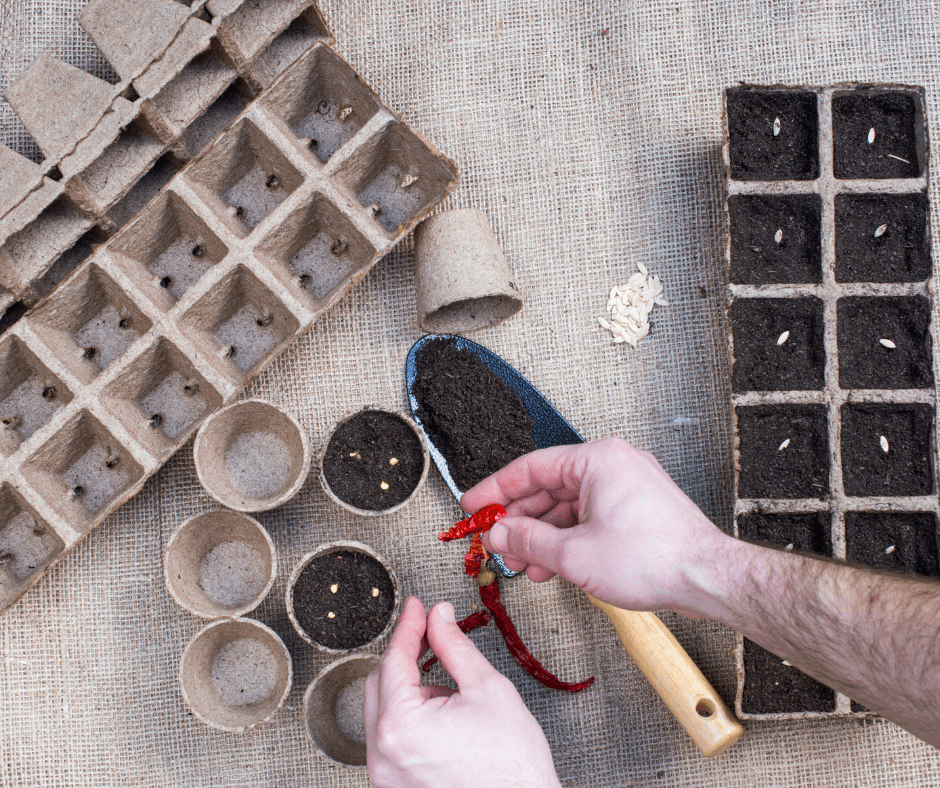
After your seed starting mix or potting mix is ready, add it to the seed tray. Usually, you want to fill each section about two-thirds full with soil, tapping the tray against a counter or table to help it settle. Then, firm up the top by gently pressing it with your hand. Don’t overdo the packing, as you want the soil below slightly loose for better aeration.
Plant Your Seeds
After you fill the seed trays, it’s time to plant. Review the seed packet for directions before you begin. For example, some seeds need a soaking first. You may need to chill others. The planting depth may also vary depending on the seed type, so check the packaging to find the recommended depth.
If you don’t see a recommended depth, a general guideline is to plant it two or three times as deep as the seed is wide. When in doubt, err on the shallower end of that spectrum.
Once the seed is in place, cover it with the seed starting or potting mix based on the recommended amount listed on the seed packet. Then, use your hand to firm up the top gently.
How much you need to cover the seed generally depends on the lighting requirements. Some seeds will require light to germinate correctly, while others need darkness. If light is necessary, you don’t want to cover the seed in soil completely, as that prevents germination.
Label Each Seed

Once the seeds are planted, you want to label them. Include the seed types, the planting dates, and similar pertinent details. You can use plant markers or popsicle sticks, depending on what you have available. Position them along the edge of the container, ensuring it doesn’t hit the seed.
Maintain the Right Environment
When it comes to how to starting seeds indoors, the trickiest part is maintaining the right environment. Generally, newly planted seeds need to stay warm, and you need to keep the soil moist without making it overly wet. Plus, you need to control the lighting if light is required for germination.
By covering the seed trays with humidity domes or plastic wrap, you limit evaporation. Additionally, those covers help keep heat in, leaving the seed container warmer. Place the seed trays in a spot that’s warm and free of drafts to keep the temperature steady.
If you’re concerned about the cold, you can put a seed-starting heating mat under the tray. Just be aware that you may need to water more regularly using this approach.
You’ll need to check your seeds daily to ensure they stay moist. Usually, the easiest way to remoisten the soil is to use a spray bottle with a mist setting. That prevents oversaturation by giving you more control.
For natural light, a south-facing window may offer enough if the seed tray is close to it. Otherwise, you may want to consider LED grow lights. Either make sure you turn them on and off at the right times or get a timer to automate the process.
Watch for Seeds Sprouting
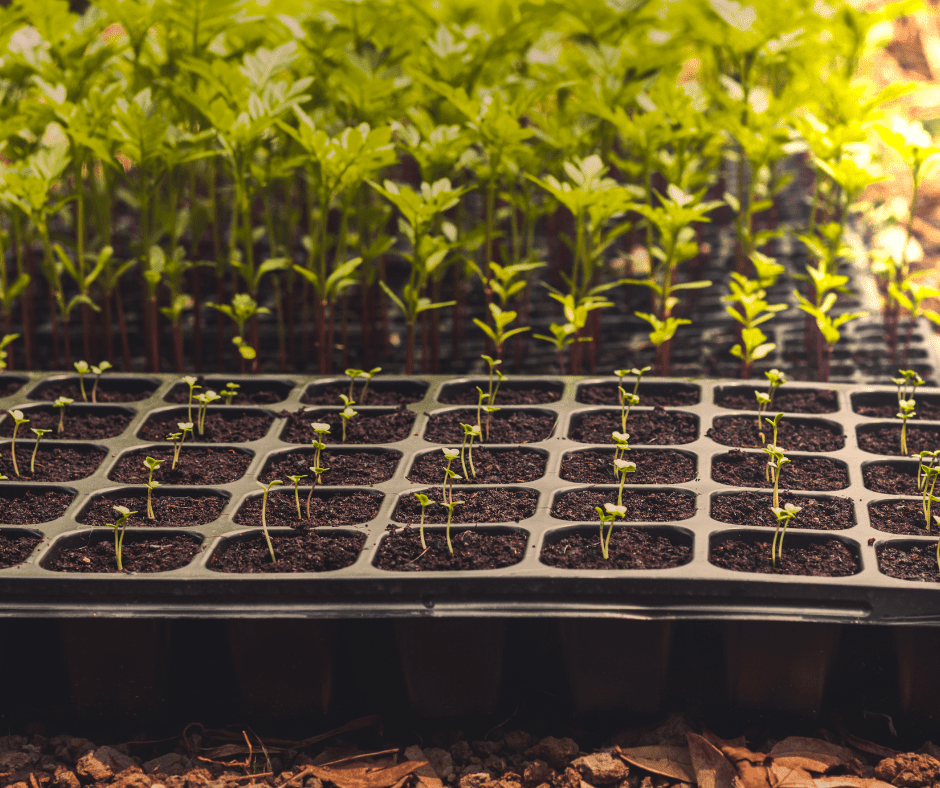
As your seeds germinate, you’ll start to see seedlings emerge. When that happens, remove the humidity dome or plastic wrap. Additionally, seedlings often do well with indirect sunlight, so you may need to reposition the container.
Once you see the seedlings poke through and unfurl, revealing the cotyledons, you’ll need to ensure they get suitable light exposure. Refer to the seed packet for preferred levels and amounts.
Additionally, keep the seedlings moist with your mister or by watering from below. With the latter approach, you can place the seed tray in a shallow dish with water in it. Leave it on the dish for up to 30 minutes, checking to see if you feel moisture at the top along the way. Once you do, move the seed tray off of the dish.
Start Feeding Your Seedlings
In time, the cotyledons will wither, and leaves will start forming. Once that happens, you’ll need to begin feeding. Seed starting mix doesn’t contain fertilizers, so you’ll want to use one that’s relatively balanced to encourage root growth. Choose a water-soluble version and dilute it to about 50 percent normal strength.
Pot Up or Replant
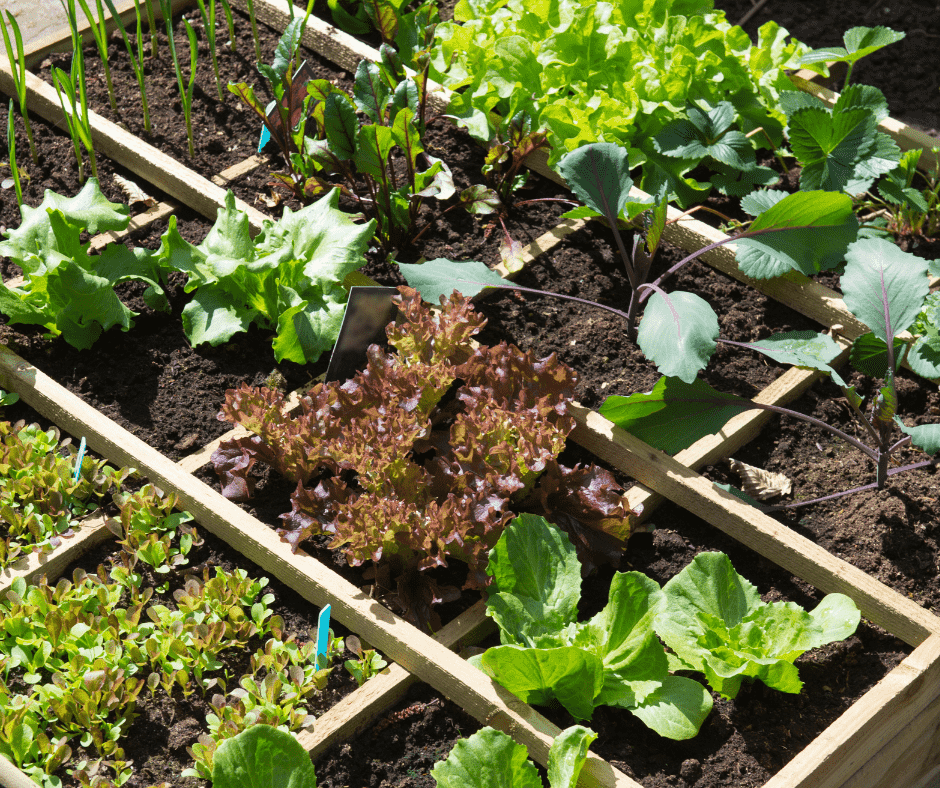
As your seedlings grow, you can either plant them formally in your garden or pot up if you plan on keeping them indoors. Potting up essentially involves moving them to a larger container, giving them more room to grow. Usually, you’ll want a 3-inch or 4-inch pot, and you can transition to a suitable potting soil based on the plant type.
If you’re replanting outdoors, hardening off your plants before replanting isn’t a bad idea. You expose them to the elements gradually, moving them to a protected spot outside for increasingly more extended periods each day. Then, bring them inside for the rest of the day. Once they’re used to the elements, you can consider moving forward with replanting.
FAQs About How to Start Seeds Indoors
What Seeds Should I Start Indoors First?
Which seeds you should start indoors first depends on several factors. The season is one of the biggest, as it lets you effectively plan based on your growing needs for the remainder of the year. For example, cauliflower matures slowly, so you can start the seeds indoors to get a head start on the outdoor growing season.
However, how simple a seed is to start and care for is also worth considering, particularly for beginners. Basil is a simple option for those who are new to seed starting. Peppers are another excellent choice.
Do You Need a Grow Light to Start Seeds Indoors?
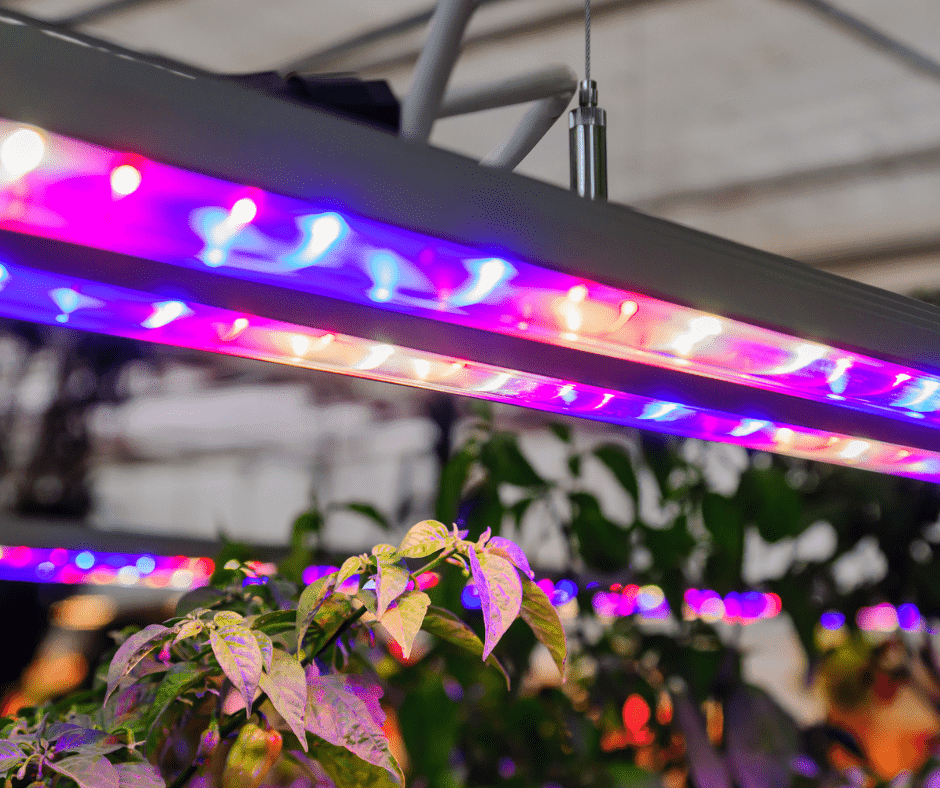
Whether you need a grow light depends on a seed’s needs and natural lighting conditions in your home. Having a grow light is wise if you have seeds that require light for germination. Grow lights are necessary if your house has limited daylight or you don’t have south-facing windows.
However, even with good daylight, grow lights give you more control. As a result, it’s still a smart investment.
Do You Need Light or Dark to Germinate?
Whether you need light or dark to germinate seeds depends on the seed type. Some require darkness, while others won’t germinate without light exposure. Check your seed packet to see what the manufacturer recommends.
Should Seeds Started Indoors Be Covered?

Covering the seeds you’re starting with a humidity dome, or plastic wrap helps maintain moisture and heat. Unless the seed packet states explicitly to leave the seed uncovered, cover the seeds to get the best result.
What Is the Easiest Way to Germinate a Seed?
Generally, the process outlined above is the easiest way to germinate a seed. It ensures the lighting, moisture, and heat conditions are ideal. Plus, using seed trays makes moving your seeds simpler.
What Is the Best Container to Start Seeds Indoors?
In most cases, using seed trays is the best seed container option. They’re designed specifically for the purpose. Along with proper drainage, many come with covers, so you don’t have to buy a separate humidity dome or use plastic wrap.
When Should I Start Seeding Indoors?
When you begin the germination process depends on the type of seed and its growth rate. In most cases, you can review the seed packet for details.
When you read the seed packet, look for information about its ideal climate. Additionally, check the maturity timeline. Then, compare the environmental and timeline details to the plant’s intended purpose. For example, if you’re planting cauliflower and want to harvest it by a specific month, you can count backward to find out when you should start the seeds indoors.
Can You Put Seeds Straight into Soil Indoors?
Using regular garden soil for starting seeds isn’t ideal. The organic material in traditional garden soil can lead to issues such as fungus or mold. Instead, use seed starting mix unless the seed manufacturer recommends another option.
What Seeds Should Not Be Started Indoors?
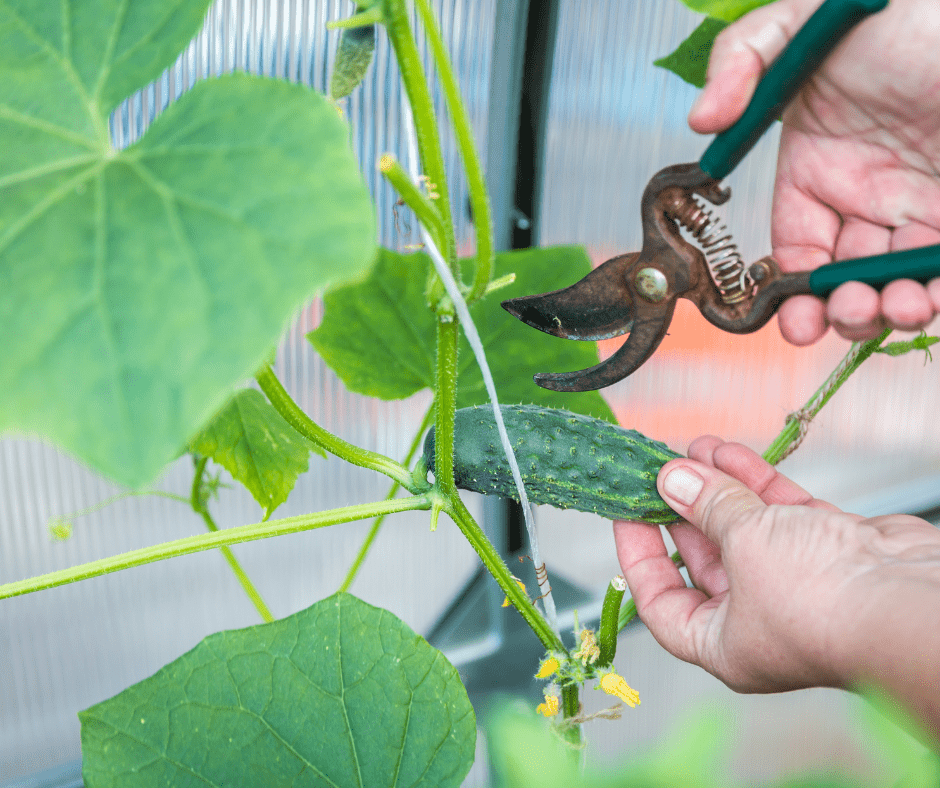
While starting most seeds indoors is plausible, some are better suited for outdoor germination. Zucchini, pumpkins, and other squashes grow fast and get big quickly. Plus, they’re hard to transplant. As a result, you’re usually better off planting them outdoors. The same is true of cucumbers
Root crops like potatoes and carrots are difficult to transplant, too, so starting them indoors isn’t ideal. Peas and beans grow rapidly, so you may want to start them outdoors instead.
With lettuce, you can start it indoors. However, the seeds do well outdoors, so you could potentially skip a step and just plant those seeds outside.
Should You Soak Seeds Before Planting Indoors?
Whether you need to soak your seeds before planting them indoors depends on the seed type. In most cases, it’s best to review the seed packet to see if soaking is recommended. If not, skip that step. If so, follow the directions regarding duration and water temperature.
Enjoyed this post? Pin it!


