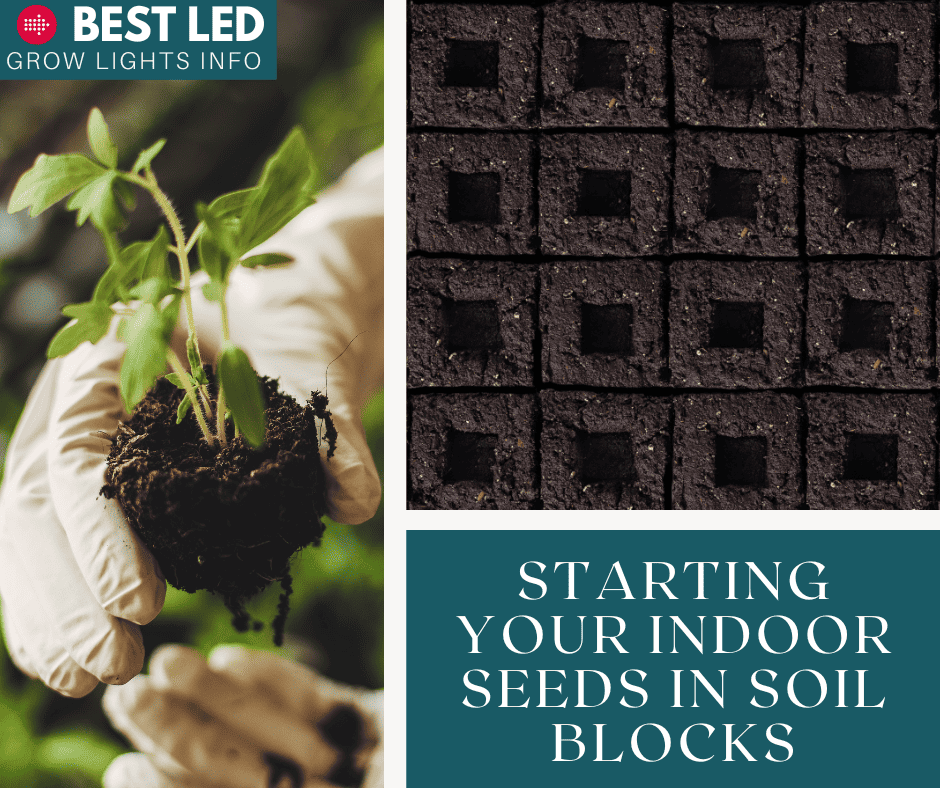
Starting Your Indoor Seeds in Soil Blocks
As an avid indoor gardener, I’m always looking for new options to start seeds indoors, particularly if a new technique can help avoid waste. One approach I’ve come to love is starting indoor seeds in soil blocks, preferably the ones I create myself.
Soil blocks eliminate the need for small pots or similar plastic containers or disposable containers when starting seeds, so there’s far less waste. Plus, this strategy helps towards having a sustainable garden and can save money, which is always a nice bonus in my book.
Whether you’re a new indoor gardener or an experienced one, soil blocking can help you elevate your game. Here’s everything you need to know about starting your indoor seeds in soil blocks.
What Is Soil Blocking?
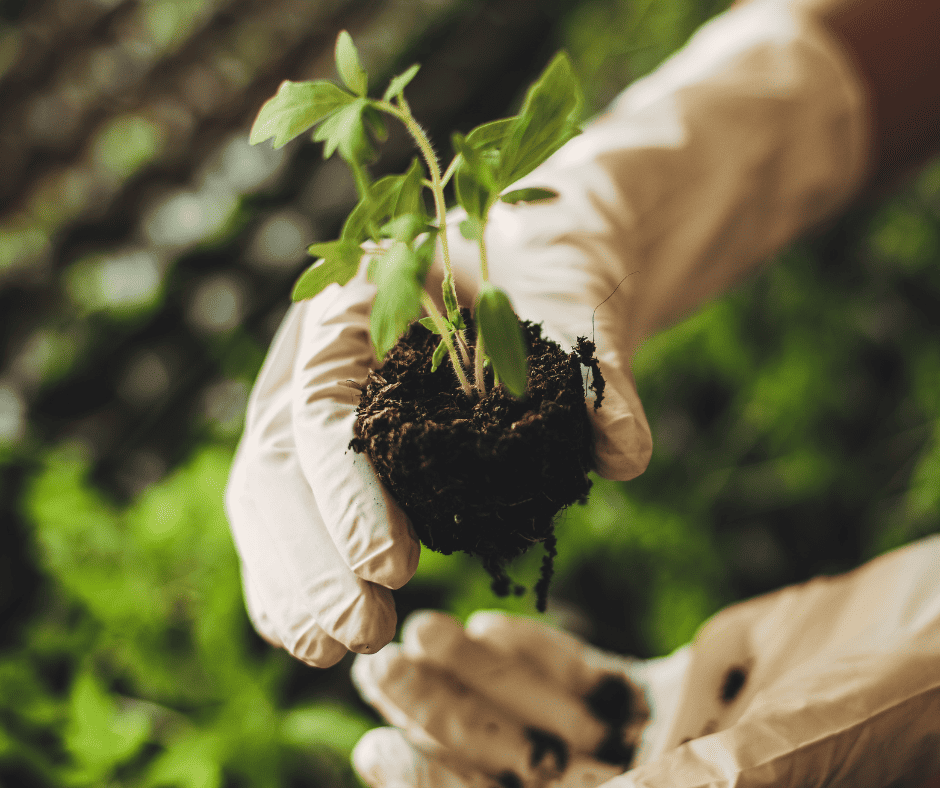
Soil blocking is a technique for starting seeds that involves creating small blocks out of soil and using those in place of pots. The soil blocks maintain enough structure to eliminate the need for containers. Plus, they give seeds a chance to develop stronger root systems, and you can plant the seedlings without having to remove them from the soil block once they reach maturity. That means you’re disturbing the seedlings less and avoiding shock, which can make a difference.
Plus, soil blocking is a practically waste-free approach and incredibly simple to use. Essentially, soil blocks are functional and convenient. When you’re looking to create soil blocks, there are many soil block recipes around, but they all involve similar components. I’ll dig into how to make your own using a basic recipe in a bit.
What Supplies Do You Need to Soil Block?
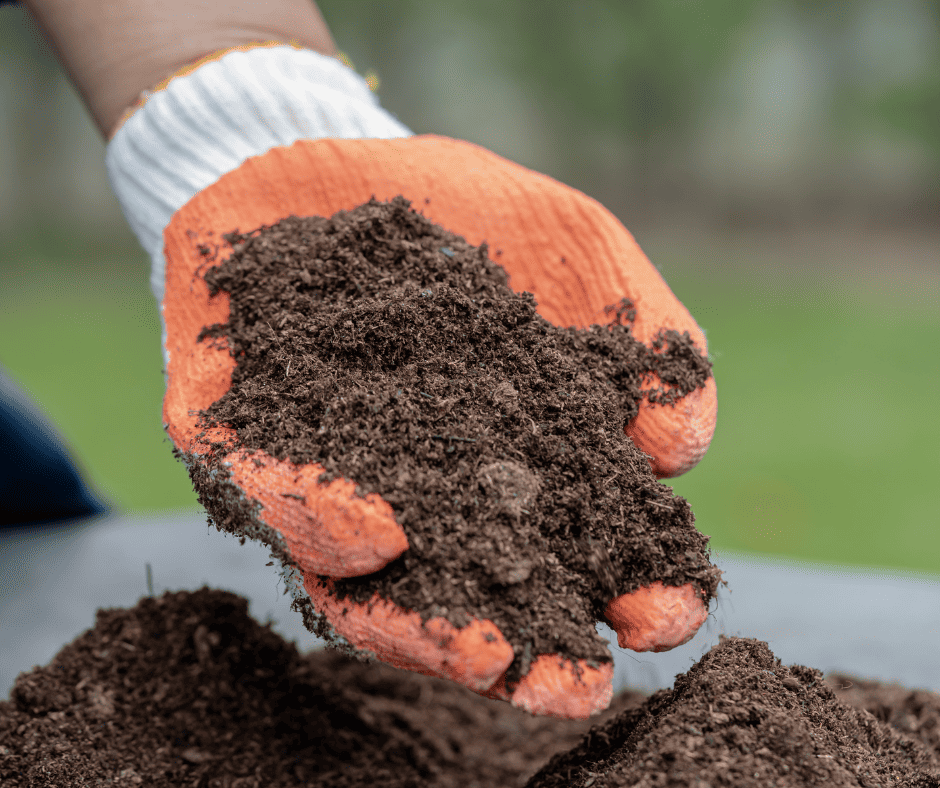
When creating soil blocks, you’ll first need suitable soil materials. Precisely what that entails may vary depending on your approach or personal preferences. However, a soil block recipe can provide exact information about what you want to purchase. If you aren’t sure where to begin, I’ve provided a basic recipe further down in this article.
Another critical item is a flat-bottomed sheet or tray that’s reasonably rigid. These will hold the soil blocks you create, so finding an option with a level surface is crucial. If you need a relatively low-cost alternative, look into cookie sheets. However, any tray with a flat bottom and enough rigidity to avoid flexing when you need to move it can do the trick.
Usually, you’ll also want a sifter. By sifting soil block components to remove large pieces or break up chunks, you get better aeration, and that helps your seedlings develop strong roots.
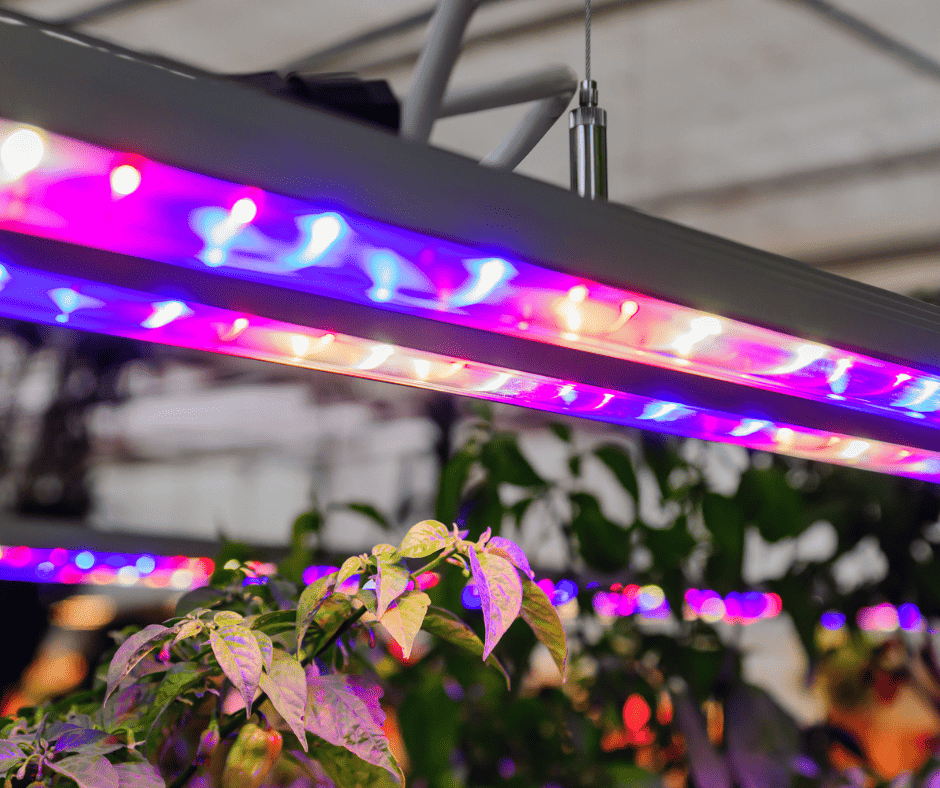
Since you’re starting the seeds indoors, you’ll likely need an LED light. LED grow lights ensure optimal lighting conditions for the seeds, so it’s worth the investment. You’ll also need a spray bottle. Those allow you to water the seed blocks a bit at a time, making it easier to avoid oversaturation and keep the moisture levels right. A heating pad is also helpful for starting seeds. You will also want to make sure your LED lights are at the correct height during the growth period.
The other item you’ll need is a soil blocker, which is a device that molds and compresses the soil to give the block some structure. Commercial soil blockers are available in various sizes, including versions that create mini soil blocks that work well for starting most seeds.
Handheld soil blockers have multiple compartments – typically two to four – and each section creates a single soil block. After adding the soil, you hand-operate the device to compress it, allowing the soil to have a suitable structure.
Stand soil blockers are also hand-operated, but they typically have more compartments. As a result, you can potentially prepare a dozen or more blocks in a single go.
Now, you can also purchase premade soil blocks or plugs. The concept is the same with these, but it eliminates the need to find a suitable soil block recipe and create the blocks yourself.
How to Make Soil Blocks
Soil Block Recipe
If you need a basic recipe for soil blocking, you can start with just four ingredients. Here’s a simple starting option that’s worth trying:
Generally, that provides enough moisture retention and drainage and the right composition to get the necessary structure when making the blocks. However, it’s critical to note that there are other ingredients that many people use for their seed-starting soil blocks. For example, agricultural lime, blood meal, bone meal, and rock phosphate are common additions or substitutions.
Creating Soil Blocks
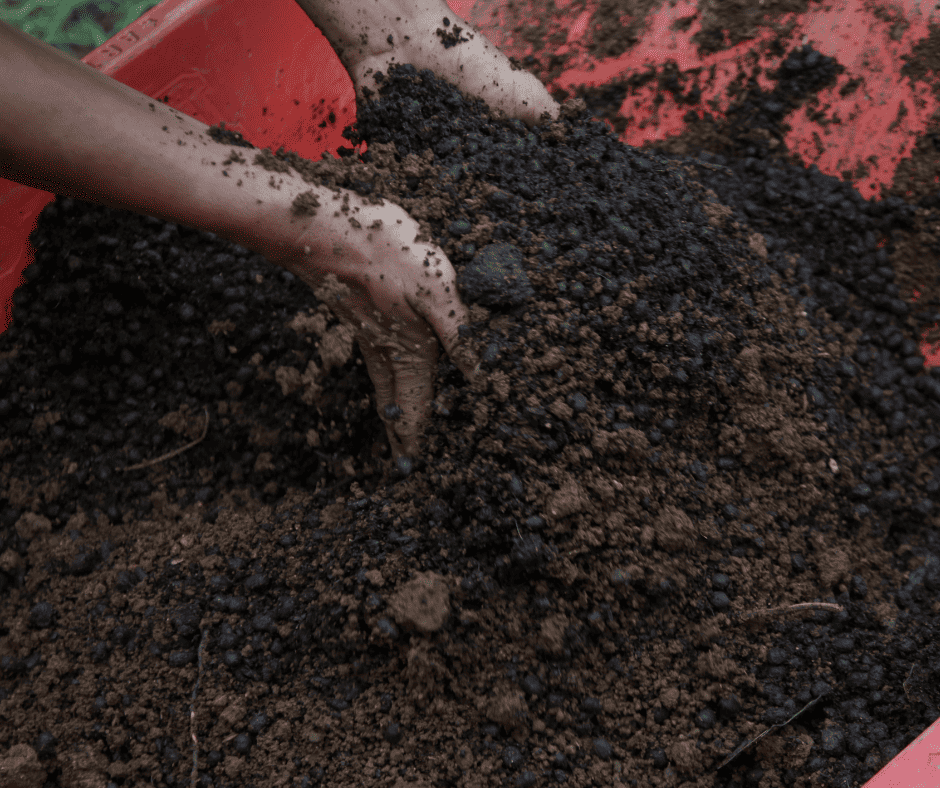
Once you choose your recipe, sift each component as you add it to a container. Then, gently mix the ingredients together, working carefully to avoid unnecessary compression. If you’re concerned about clumps, you can also sift the entire container after you’ve spent time mixing the components, ensuring it’s loose enough before you start forming the blocks.
If you’re starting with particularly dry peat moss, you may need to hydrate it before creating the mixture. However, whether this is necessary depends on how dry it is, so keep that in mind.
After you have your soil block mix, you’ll need to add water. How much you need may vary, but the goal is to add enough so the blocks will hold together without being overly wet. As a result, it’s wise to add small amounts of water and mix along the way, testing the mixture until the consistency is similar to a putty.
Once you have the consistency right, it’s time to use your soil-blocking tool to create the blocks. How it’s filled and operated will vary depending on the soil-blocking tool you use. If you buy a commercial version, review the instructions. If you made one yourself, refer to the directions that came with the design.
Starting Seeds in Soil Blocks
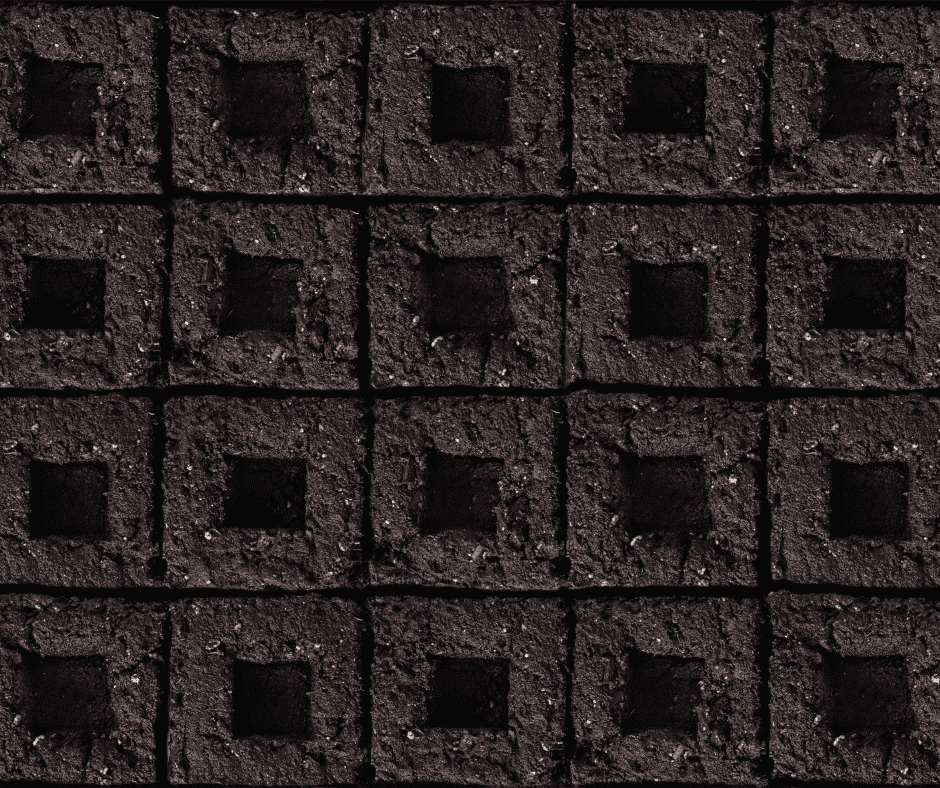
Once you have your soil blocks, place them on a flat, sturdy tray. If your soil blocking tool came with a dibber, use that to make a depression in the center of the top of each block. You can make the divot with a gloved finger if you don’t have a dibber.
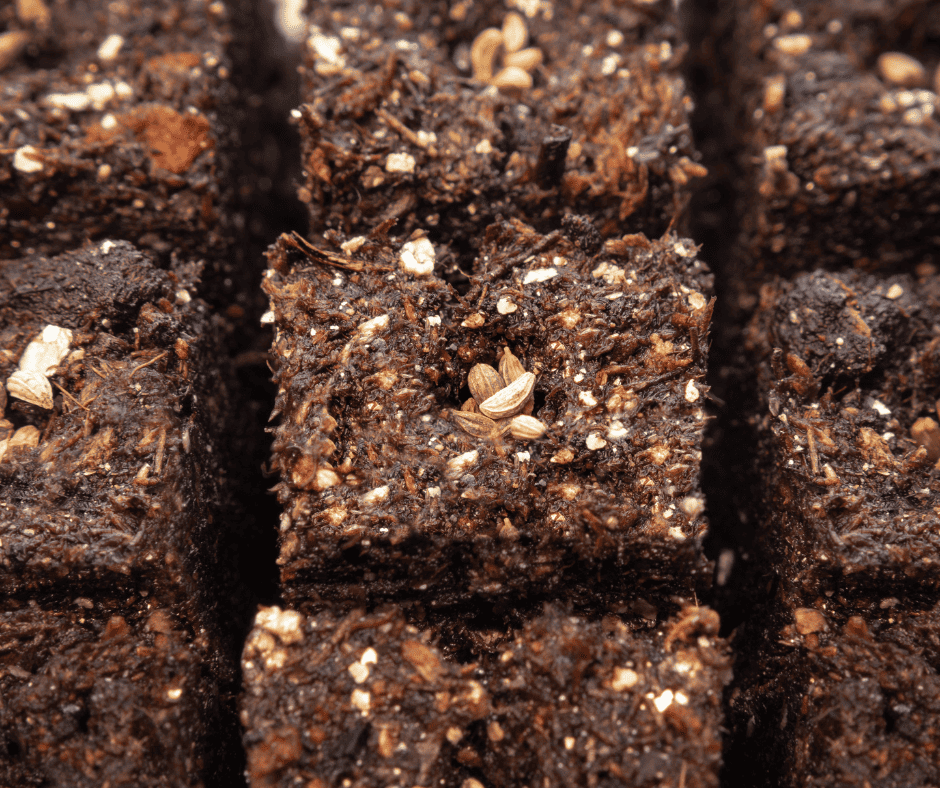
With the depression in place, it’s time to add your seeds. Some seeds can simply be placed in the hole, while others need to be covered with soil. Which approach is necessary depends on the seeds you’re starting, so you’ll need to research whether covering is essential for your specific seeds.
Once that’s done, you can move the tray under your grow light and onto a heating pad if you need the extra light or heat. At that point, you can watch your seeds sprout and seedlings grow, using a spray bottle to manage moisture levels throughout the germination process.
Soil Blocks FAQs
Can You Make Soil Blocks with Coco Coir?
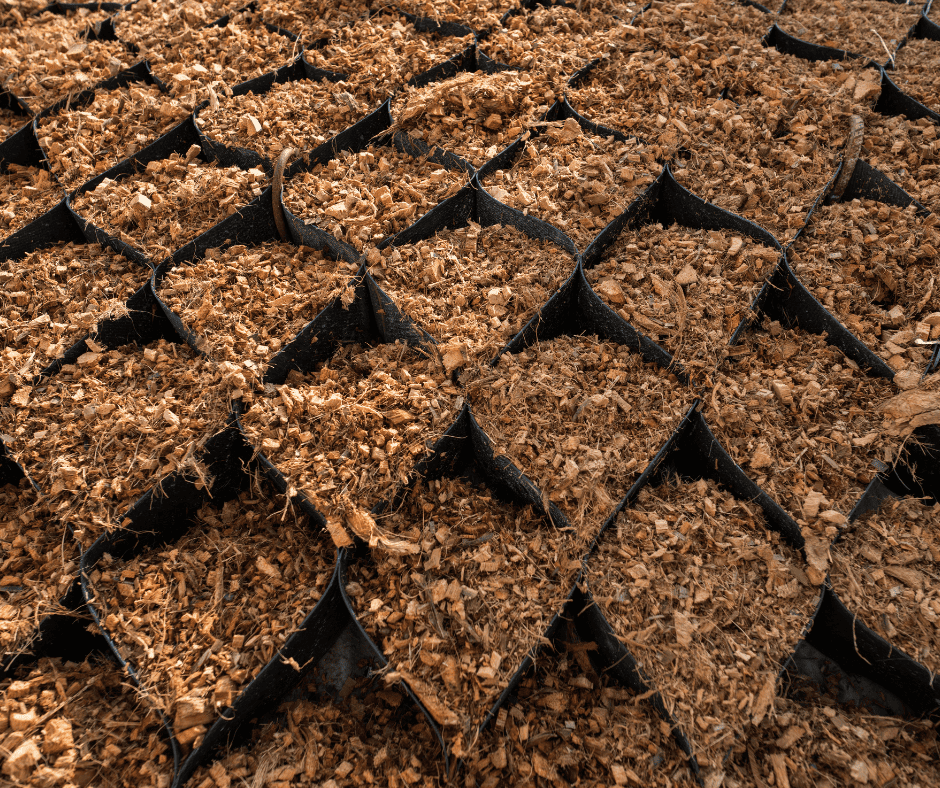
Coco coir – also called coconut coir – is an option when you’re creating soil blocks. Typically, it takes the place of peat moss in the soil-blocking recipes.
Many people prefer coco coir because peat moss isn’t the most environmentally-friendly choice. While peat moss is renewable, it grows slowly. As a result, its removal isn’t the best for the local ecosystem.
Coconut coir comes from the outer coverings of coconuts, which are removed when coconuts are processed for consumption. Since it’s already being taken off of coconuts, this approach is usually considered a bit greener. It eliminates some processing waste by giving the coconut coir a new purpose.
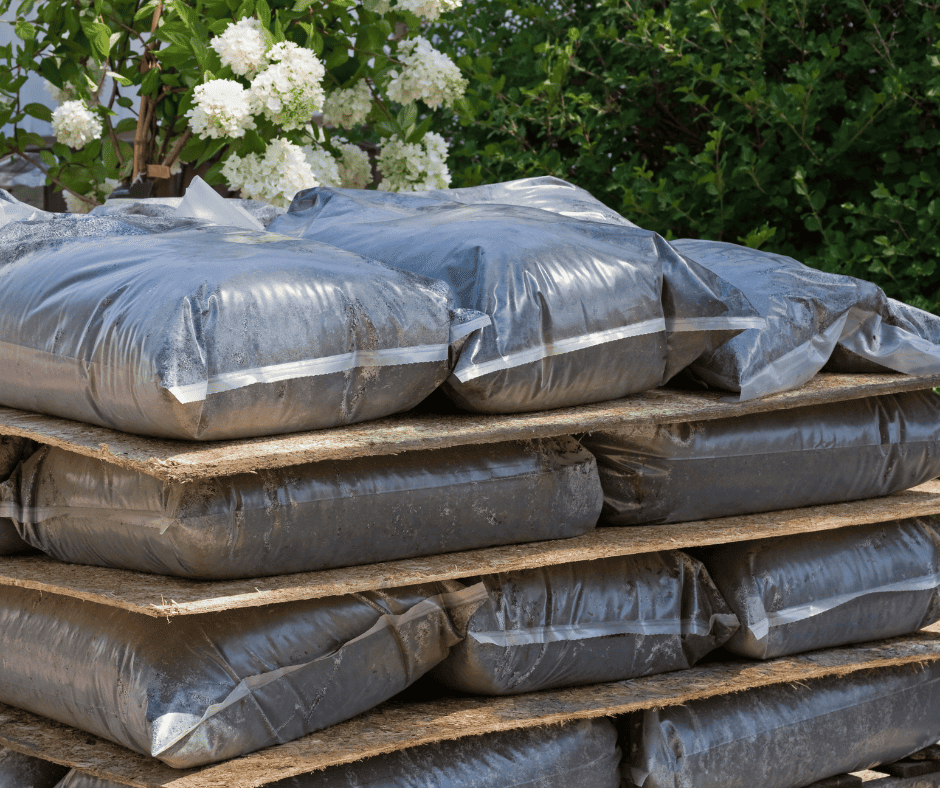
Can I Use Seed Starting Mix for Soil Blocks?
You can use a seed starting mix as a component for soil blocks, but you may need to add more materials into the mix. Soil block recipes usually include ingredients not found in commercial or homemade seed starting mixes, like compost. As a result, you might need to add the missing components to get the desired structure.
However, the exact composition of seed starting mixes can vary. As a result, you can always experiment to see if the soil blocks created with it can remain stable long enough to meet your needs. Just run the experiment without planting the seeds initially, allowing you to see if the composition is suitable before you move forward.
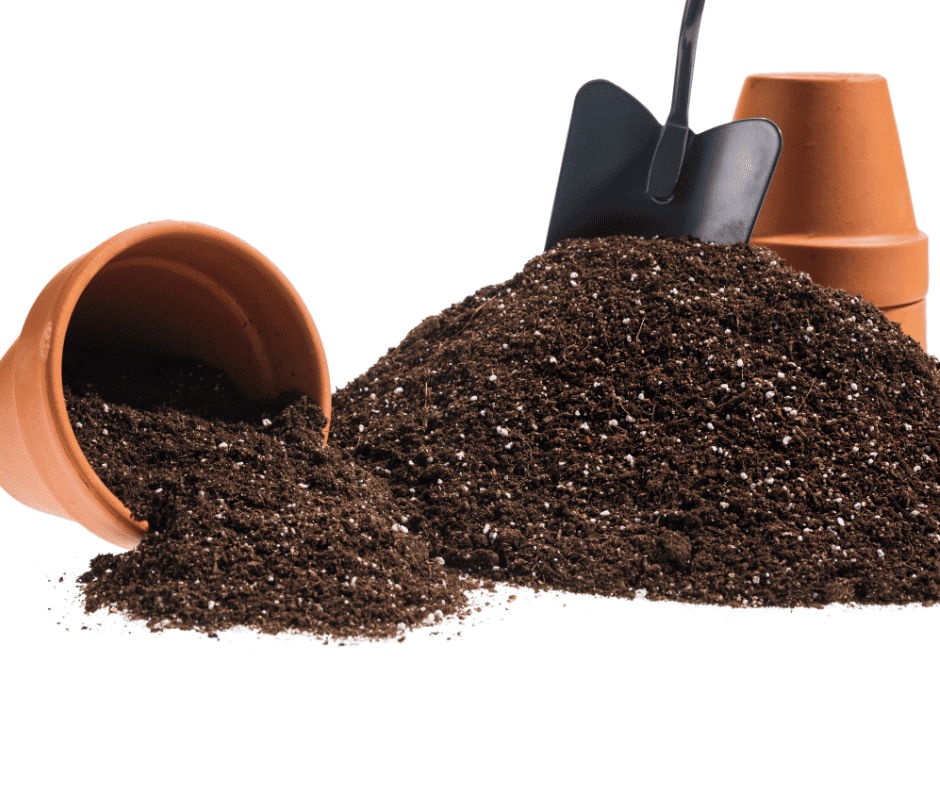
Can I Use Potting Mix for Soil Blocking?
As with seed starting mix, potting mix alone may not have the proper composition to provide enough structure for soil blocks. Additionally, potting soil alone isn’t always ideal for starting seeds in the first place, as it’s often heavier or denser growing medium, which can alter how the roots grow.
Now, you may be able to add ingredients to potting soil to achieve a suitable structure. However, using a recipe designed specifically for soil blocking is usually easier.
Can You Make Homemade Soil Blockers?
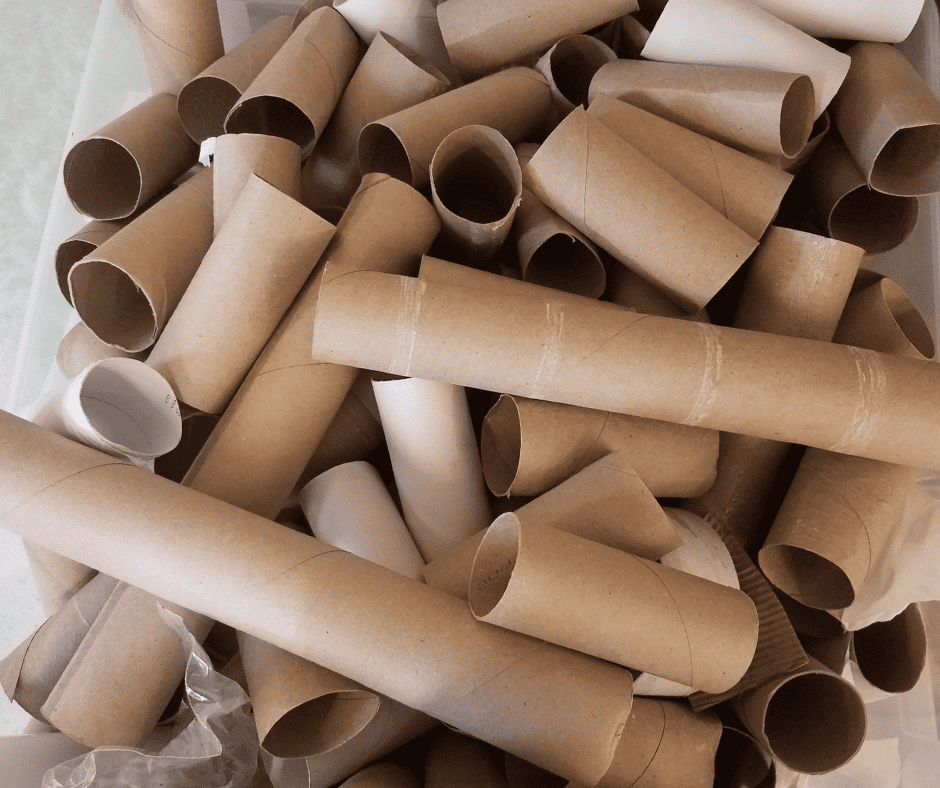
You can make homemade soil blockers, and there are instructions all over the internet that showcase different designs. Some are relatively simple, using tubes made from items like toilet paper tubes or soda cans with a simple plunger, and those typically make one block at a time.
However, you can also find homemade soil blockers that are far more involved. They may involve a variety of items commonly found in hardware stores and can allow you to create multiple soil blocks at once.
Which homemade soil blockers are best for you depends on several factors. First, you need to consider how many soil blocks you’d like to create at once. Second, you should factor in your DIY skills, as some involve using several different tools. Third, don’t overlook your budget. While homemade soil blockers aren’t typically expensive to create, the cost of the needed supplies does vary.
How Often Do You Water Soil Blocks?

In most cases, you must use a spray bottle daily to keep your soil blocks moist. This is the best time to use the rainwater you’ve been harvesting outdoors. However, it’s wise to check them far more often, as how quickly they dry out can vary based on factors like ambient temperature and humidity.
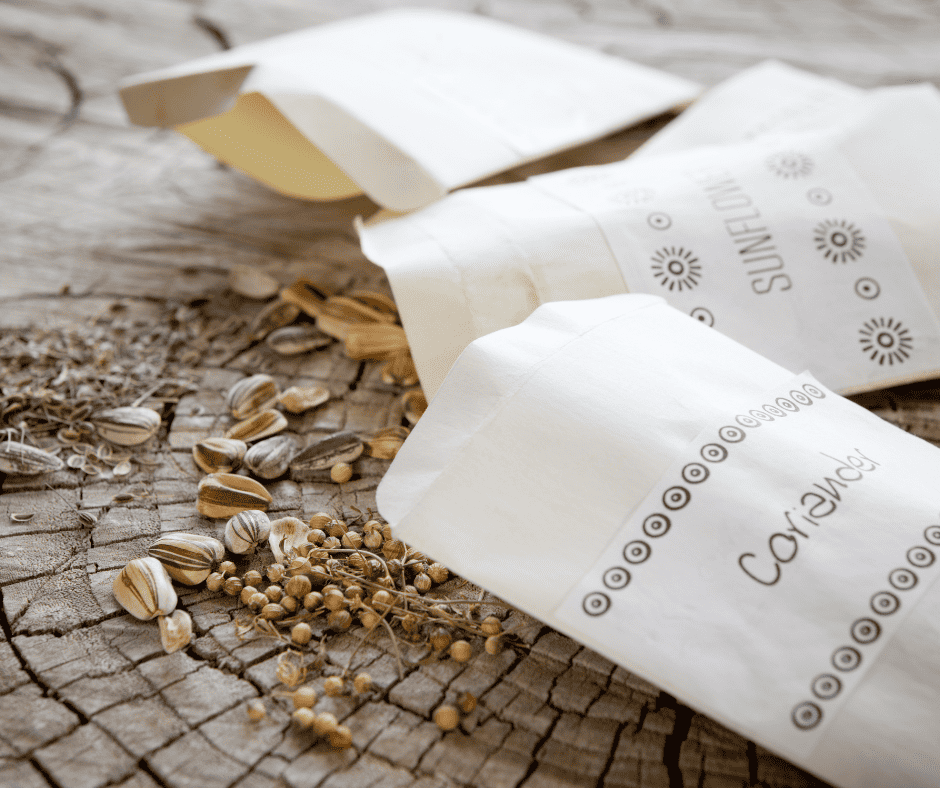
If you’re embarking on starting your garden indoors, then feel free to dive into the following articles. “What Vegetables Grow Well Together” offers insights into companion planting by helping you discover the perfect plant pairs that will thrive when cultivated side by side. Meanwhile, “How to Store Seeds for Next Year” explains essential techniques to preserve and safeguard your seeds, ensuring a steady supply for many seasons to come.
Enjoyed this post? Pin it!