How to Grow Tomatoes Indoors – A Step by Step Guide
Imagine having delicious, garden-fresh tomatoes all year round, even without direct sunlight. Just about anyone, even beginners can grow tomatoes indoors. The most important rule is that as a gardener, you must ensure you have the essential elements for germination and growth, including medium drainage soil, adequate water, and the right temperature for successful development. This article presents a simple to follow, step-by-step guide to growing tomatoes indoors. I hope you will find this resource useful.
Step 1: Choose your tomato seed
Tomatoes can either be determinate or indeterminate. Determinate tomatoes grow to a specific height and produce the first round of fruit after which they stop growing. All the fruit ripens at the same time.
The indeterminate type grows and produces fruits in a vining fashion. It blooms, produces more fruit, ripens throughout the season, and it is often the recommended type for indoor cultivation. However, you will need to prune it frequently.
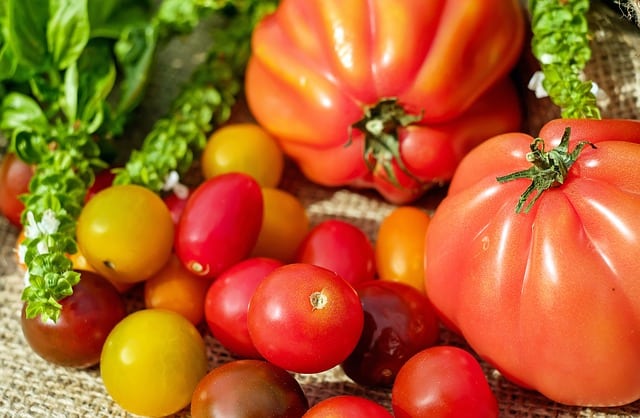
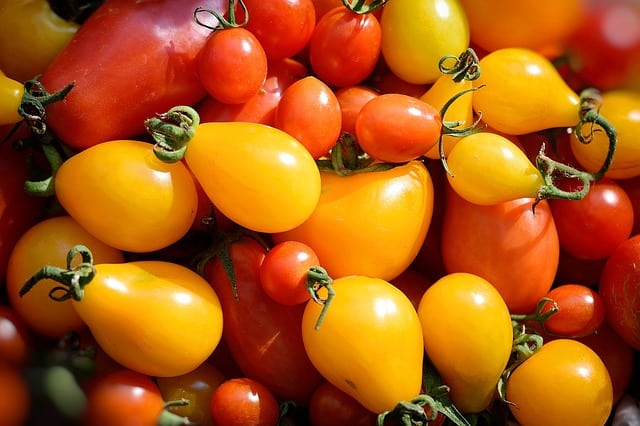
While there are numerous tomato varieties, the most common include; Yellow Pear, San Marzano, Mortgage Lifter, Green Zebra, Cherokee Purple, Brandywine, Black Krim, Amish Paste, Sunsugar, Juliet, Jersey, Independence Day, Early Girl, Celebrity, Big Boy, Big Beef, and Better Boy tomatoes.
You should base your tomato seed variety selection on:
- How you’re going to use the fruits upon harvest
- The length of the plant growing season
- The plant size
- Whether you will let the plant sprawl or you will stake it
Identify your preferred variety before starting tomato seeds indoors.
Step 2: Choose an Appropriate Location for your Tomato Plants
Tomatoes germinate best under humid and warm conditions. Starting tomatoes indoors also requires plenty of light. Ensure your location has soil with high porosity, slight acidity, and medium drainage.
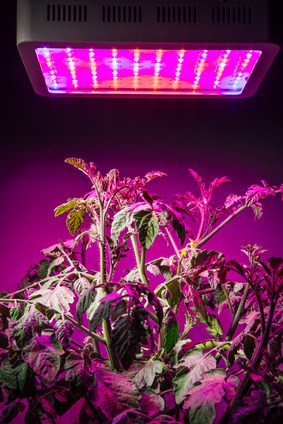
Step 3: Introduce LED Grow Lights
Tomatoes require 8 hours of daily illumination for efficient fruit production. Due to their high sensitivity, tomatoes may experience stunted growth if exposed to cold temperatures. Therefore, LED grow lights are necessary for indoor cultivation. Ensure temperatures range between 71-75 degrees and 75-79 degrees Fahrenheit for germination and growth respectively.
High-quality grow lights will also enable you to control the length of illumination. Germinate the plants with 12 hours of light during the initial 3 to 5 weeks on a daily basis. After this period, increase the illumination time to between 14 and 16 hours daily for the next 2 to 3 weeks. You can then lower the length of illumination to 10 hours daily until fruition.
Benefits of LED grow lights on tomato plants:
- They allow for year-round cultivation
- They promote germination and vegetative tomato growth
- They consume less energy than High-Pressure Sodium lights
- They increase the tomato fruit yield
- They enhance tomato fruit quality due to their wide spectra ranges
For me, the best LED grow lights for tomatoes are the Spider Farmer SF-4000 grow light, at the high-quality end, or the BESTVA 2000W grow light, for a budget-friendly solution. Of course you can read my Grow Light Buying Guide for even more options.
Step 4: Sow the Tomato Seeds
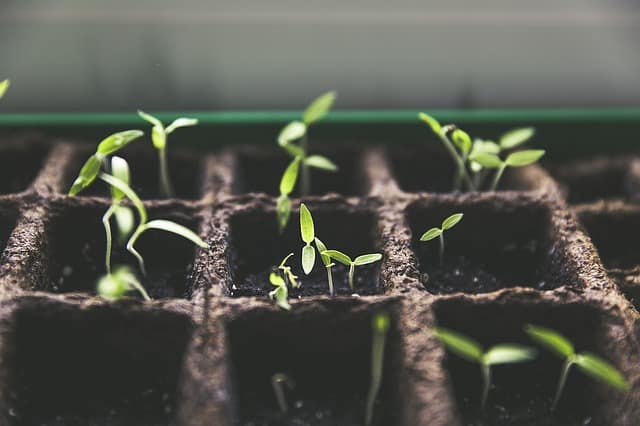
Once your tomato grow lights are set up in your chosen location, it’s time to plant. The seeds should be planted in starter trays with the appropriate soil mix. Plant the seeds 6 cm apart and around 3 to 4 mm deep. While the LED grow lights will provide sufficient warmth for growth, you may need to cover the plants with a plastic wrap or foil to keep in the moisture and heat. Remember not to over-water your seedlings even though your soil should have good drainage.
Step 5: Transplant the Seedlings
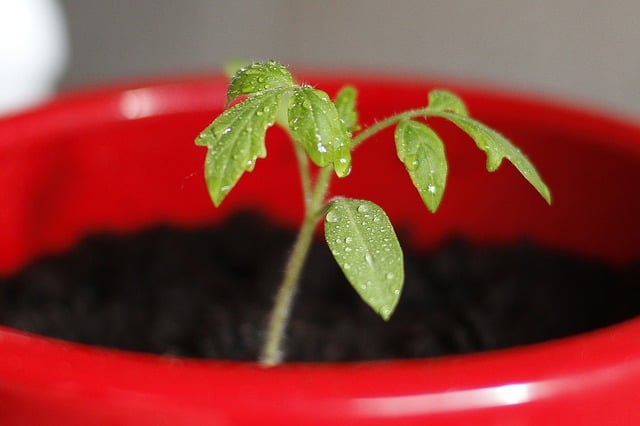
Germination will occur between 5 and 10 days, after which you should move the seedlings to new pots and place them in the location identified in the second step above. Plant tomatoes into a 3.5 to 5-gallon pot when they measure about 3 inches tall and have 1 or 2 leaves. Add more soil around your seedling and water lightly. This will help your plant develop a good root system. Fertilize your plants every two weeks while turning them regularly for maximum illumination and fruit production in case the grow light does not reach all the sides of the plants.
Step 6: Stake your Tomato Plants
Tomatoes lack the ability to hold themselves up naturally. If not staked for support, they tend to sprawl on the ground. Therefore, I recommend wooden posts for staking. Make sure they aren’t chemically treated to avoid the chemicals from running into the soil mix. For adequate support, ensure the posts measure around 1” square with 18 to 24” long rope ties. The posts should be inserted between 3 and 6” into the pot either after flowering or planting to avoid causing damage to the roots. The branches can also be tied to the post for support.
Step 7: Pollinate the Tomatoes
It is important to hand pollinate your plants as they won’t be in contact with pollinating insects indoors. Lightly tap the plant stem as the flowers bloom so the pollen spreads. You can also use a Q-tip to transfer pollen from one flower to another.
Step 8: Prune the plants
Frequent and early pruning discourages plant diseases while promoting healthy growth. You will know your plant is ready for pruning the moment its leaves and stem below the first flower set start turning yellow.
Make sure you remove new suckers which if left to grow will result in lower yields. Remove suckers by bending them back and forth. You should also remove yellow leaves as the tomato plant matures. These leaves will otherwise use more plant sugar than they generate, only to wilt and die off naturally.
Step 9: Harvest the Fruits of your Labor
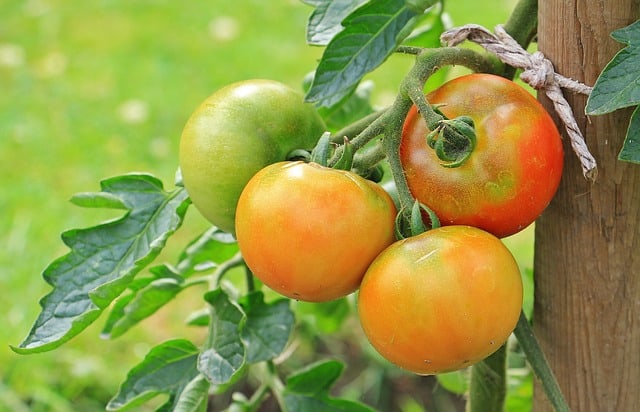
Most tomato varieties produce fruit around 60 to 80 days after germination. Pick your tomatoes when the fruit’s ultimate size and color are reached. Water your plants often and ensure your indoor temperature stays well within the acceptable range for a better yield. You can also opt to harvest green fruits and ripen them in paper bags.
Follow these simple steps to make your indoor tomato cultivation a success. I hope this guide helps you grow tomatoes inside year round because there’s nothing like a fresh tomato in the dead of winter!
Enjoyed this post? Pin it!
